!! This instruction includes disassembly of the power supply of your computer. You should only perform this if you are trained in electronics and of course, you do it on your own risk. If in doubt, let a qualified technician do the job !!
More information can be found in the computer audio chapter on mother-of-tone.
The ALTMANN DIY 192 kHz AUDIO COMPUTER
Many audiophiles are using the computer that they already have and try to add some kind of audio support in the form of USB, Firewire or network-streaming devices that are supposed to take care of quality audio playback.
However the majority of available external audio devices are not capable of 192kHz resolution, or they are not useful for recording at high sample-rates, or they specify 192kHz support, but when it comes to real world usage, you get pops and clicks in the music, stuff that you really don't need.
Considering the cost of those external USB, firewire, wireless networking devices, music servers, etc ... those that work up to a certain level of performance are not cheap at all, in fact they can be much more expensive than a complete computer system incl. keyboard, mouse, widescreen monitor, hard-drive and DVD/CD burner.
So this instruction is for making a high-resolution, high-fidelity recording and playback computer, one that works.
"But a big computer is noisy ..." hold on we'll take care of that.
For making an audio computer, you don't necessarily need a very powerful computer. In fact a powerful computer can be a hindrance, as a powerful computer also generates lots of heat, so you need many cooling fans which in turn are noisy.
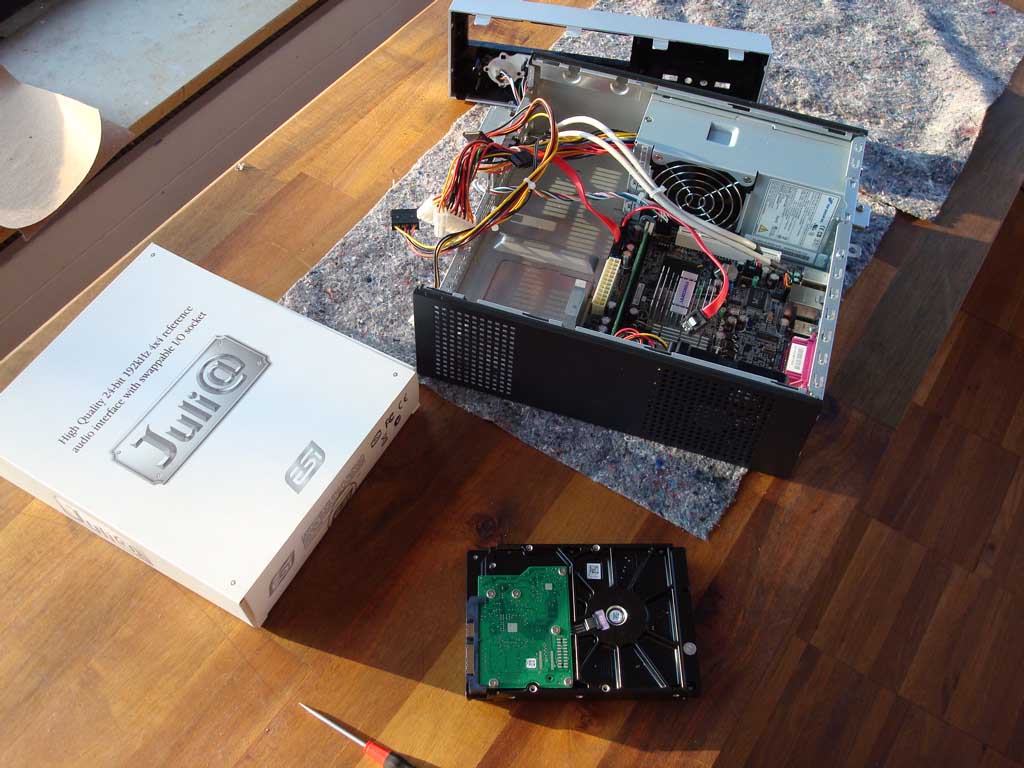
As we want our computer to be as quiet as possible, we start with a lower performance, cheaper, smaller computer, the Foxconn R10-S1 which features an Intel Atom 230 processor.
It should be noted that Foxconn also makes much hardware for Apple, so despite the low price, you can expect quality.
We also need a audio card giving us digital outputs and inputs. I am a fan of the ESI Juli@ card:
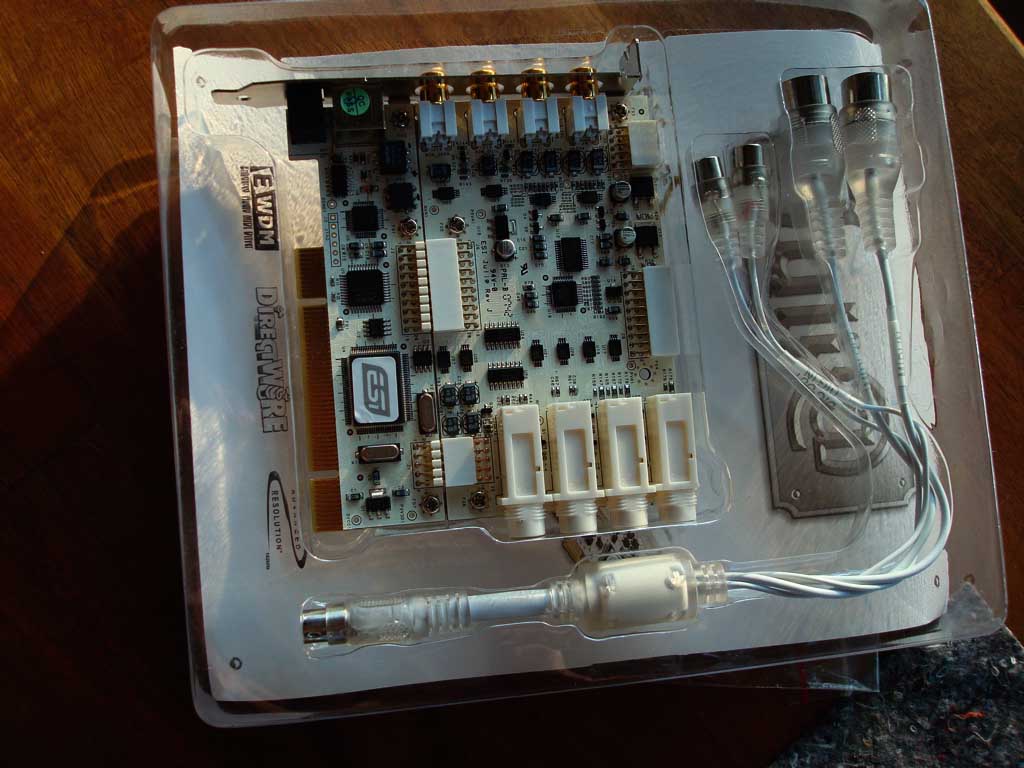
The ESI Juli@ PCI card is high-quality, cost-effective, 192kHz capable and supports MAC OS, Linux, Windows operating systems.
I have tested the ESI Juli@ card's digital output and digital input to be 100% bit-accurate, which is a very important feature.
The ESI Juli@ also has true audio clocks:
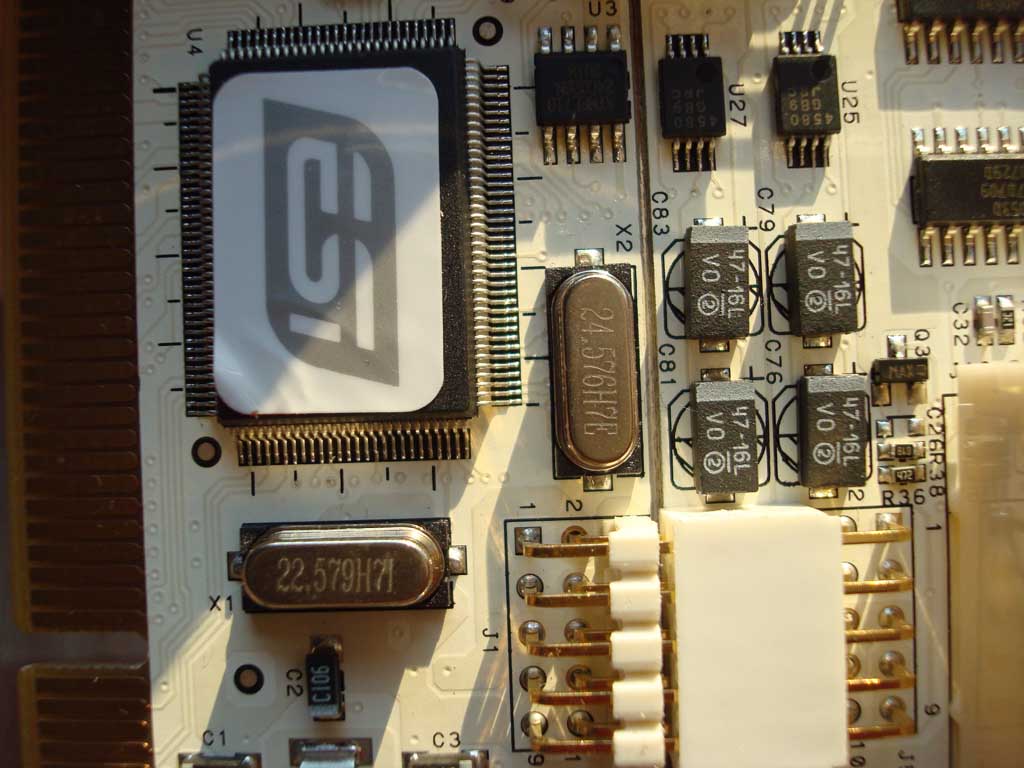
Or should I say that one of the reasons that most external USB, etc. audio devices as well as many PCI audio cards sound like crap, lies in the fact that they do NOT have TRUE audio clocks. A true audio-clock is a multiple of the audio sample rate. In the picture you see two quarz crystals with the following frequencies: 22,5792 and 24,5760 MHz.
22,5792 MHz = 512 * 44100 and 24,5760 MHz = 512 * 48000 while 44100 and 48000 are the base frequencies of digital audio.
A cheaper way would be to derive the 44,1 and 48 kHz sample rate from the computer clock or to generate it with a PLL, however not as accurate, not as stable and not as jitter-free.
So the 2 separate true audio clocks are important for the sound quality of your audio computer.
At first you assemble the computer, install your favorite OS and make it work for a couple of hours. Check the temperature using the temp-monitor that comes with the driver CD of your computer. With my Foxconn came the FOX ONE utility:
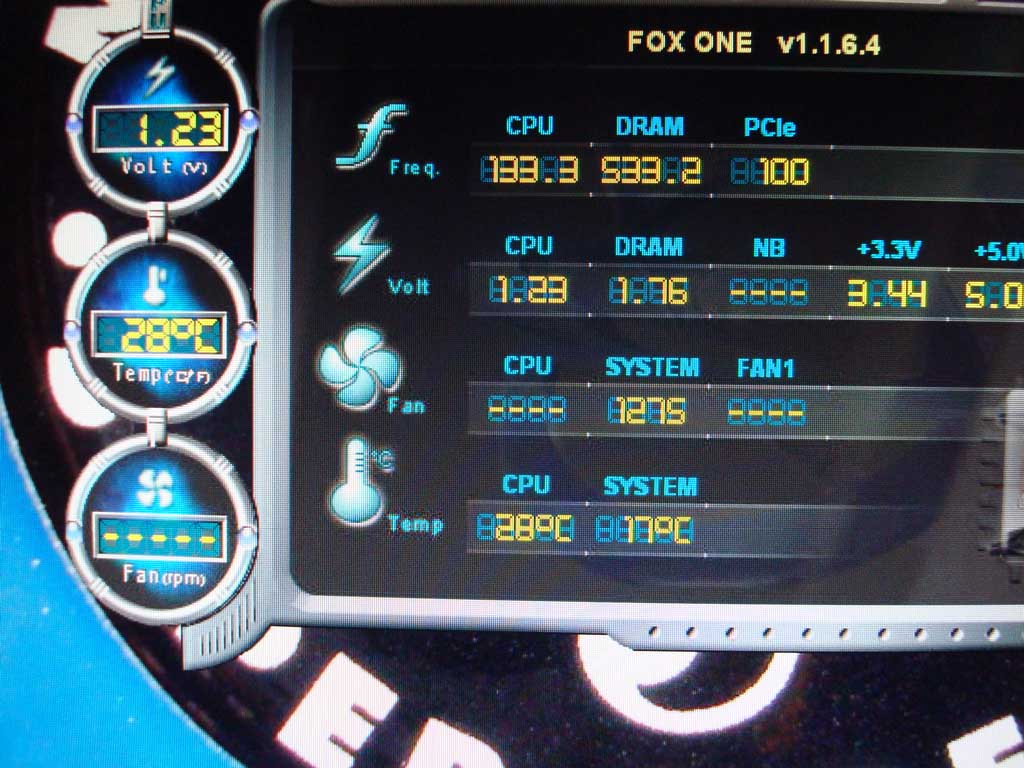
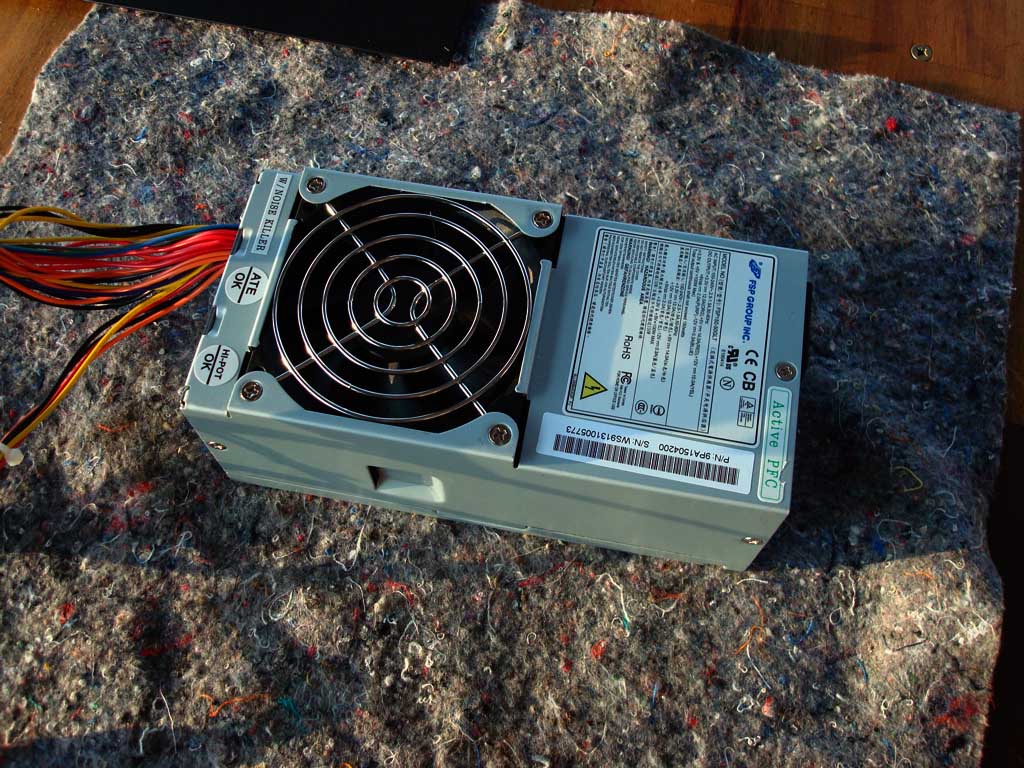
As you see, this Atom processor is running cool, however the computer is not silent. Most of the noise is coming from the fan inside the power supply. So we take out the power supply first.
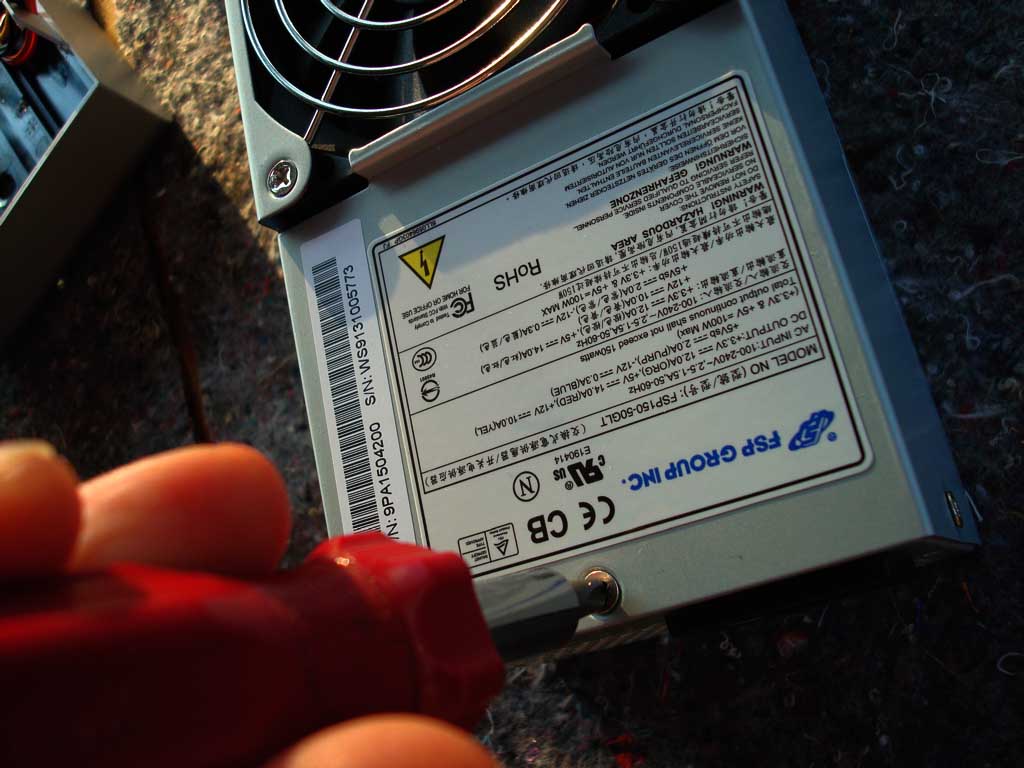
Double check that you are not connected to the wall outlet. Do not touch anything inside the power supply as the capacitors can still hold potentials up to 400 Volts.
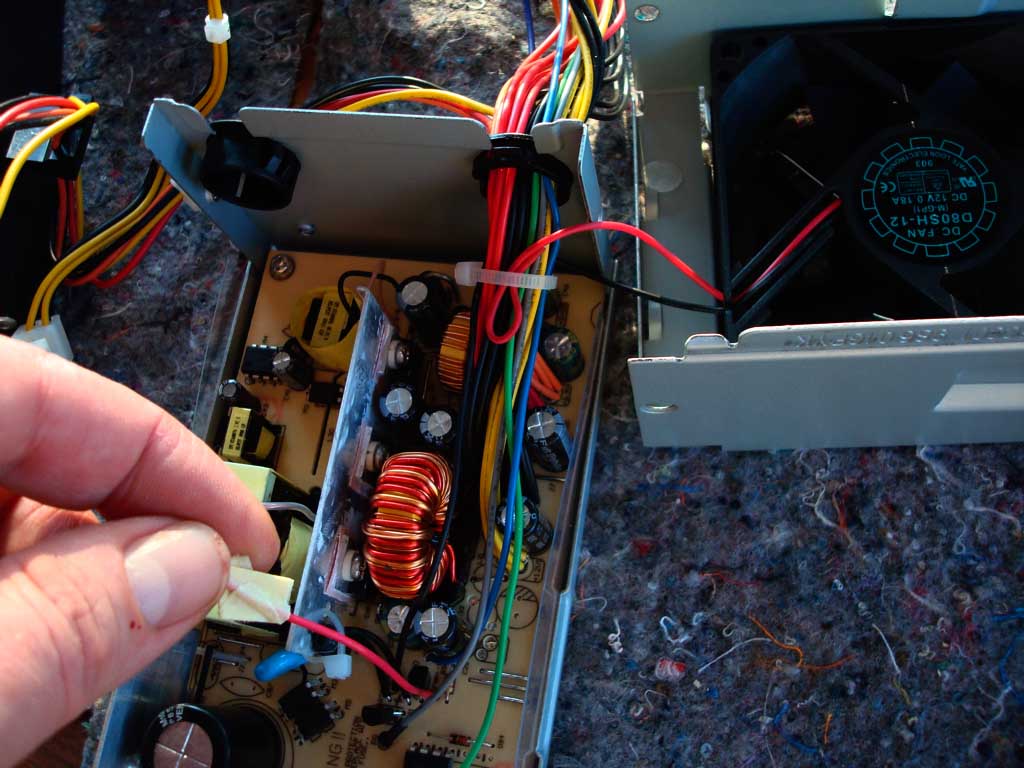
Cut the red wire that goes from the circuit board to the fan and solder a 100 Ohm resistor inline. Tape resistor and solder-joints. The fan is now set to low speed, and low noise :) Do not touch any components inside the power supply, other than the red fan-wire. Use isolated pliers, for cutting the wire.
Reassemble power supply and install back into computer.
There may be a second fan in the main chassis of the computer. Do the same here: solder 100 Ohm resistor into red power line of fan and tape afterwards. The trick is that we still have a little bit of cooling air flow inside, but not the noise of the full running fan. If the fan is still too fast and too loud, increase resistor value. If the fan does not run-on, decrease resistor value.
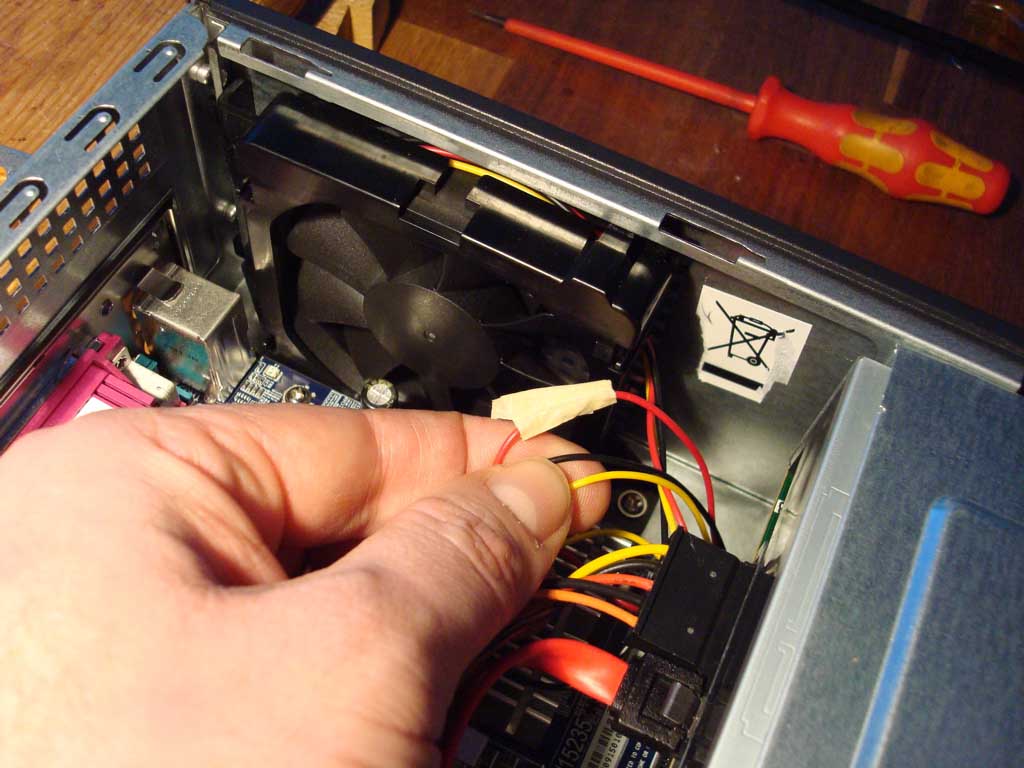
Another noise contributor is the hard-drive. The drive itself is not the main problem, but the way it is mounted inside the computer. Also consider that a smaller drive (i.e. 2,5") makes less noise than a 3,5 drive. You can also use a flash-drive which is absolutely silent as it does not have any moving parts.
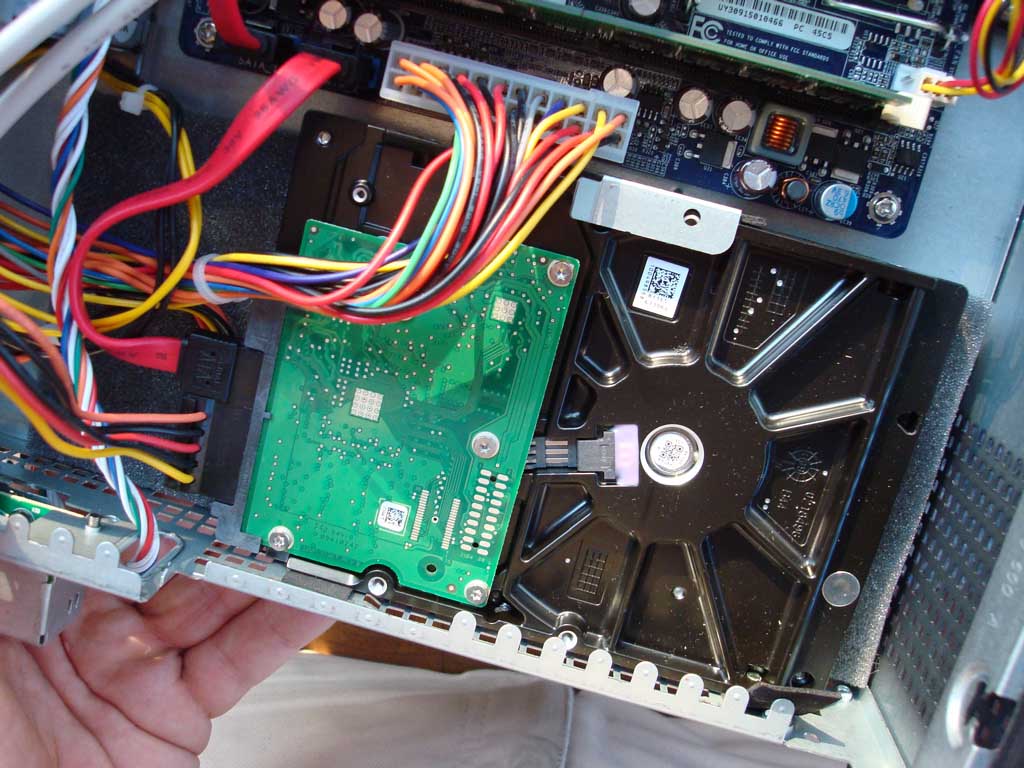
I'm using a standard 3,5" hard-disk, the trick is in the mounting. The drive is mounted on some package foam.
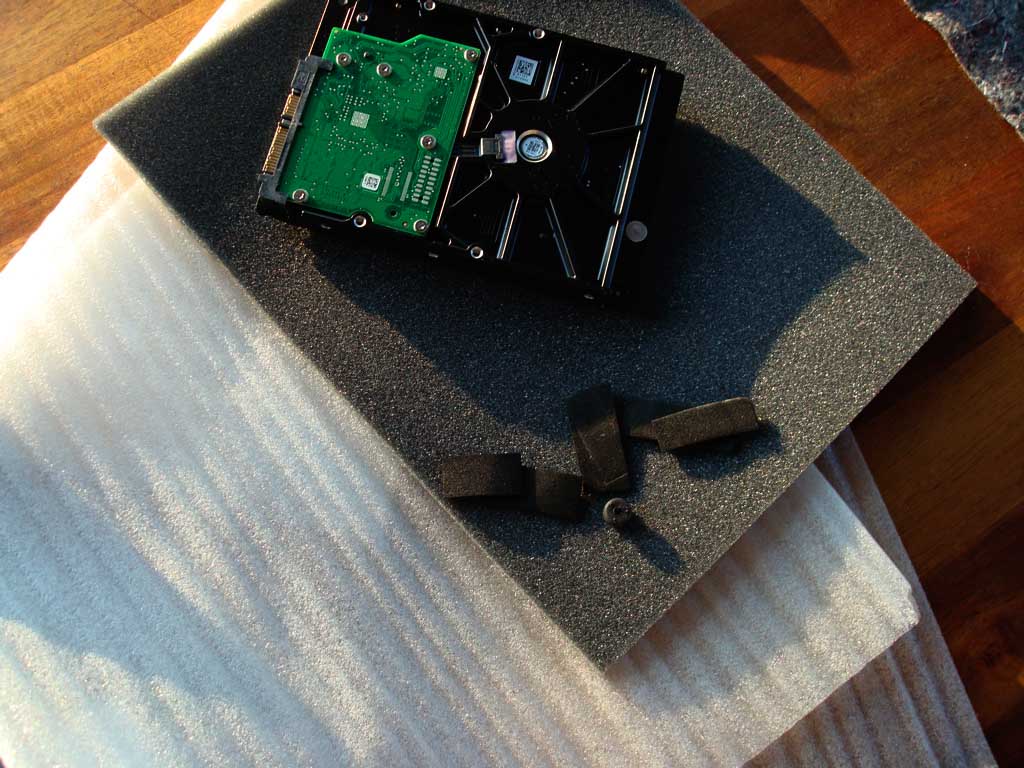
There are also small pieces of foam at the sides of the harddrive, so that there is no direct metal to metal connection between the drive and the computer housing. This makes your harddrive and your entire audio computer very very silent.
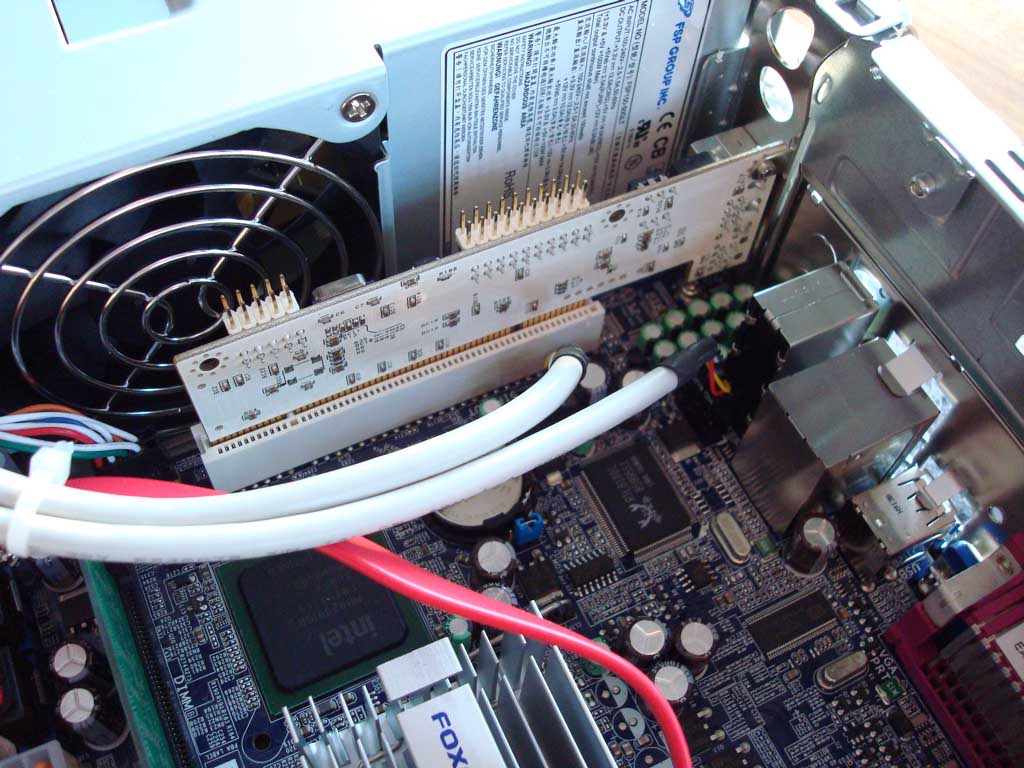
As my Foxconn
barebone has not enough height for a full PCI card, I am only using
the base part of the ESI Juli@ (on the right). The base part has
connections for 192kHz S/PDIF RCA input and output as well as a
192kHz Toslink optical output (as well as MIDI). This is all I ever
need for connecting my
Creation ADC (recording) and
Attraction DAC (playback). 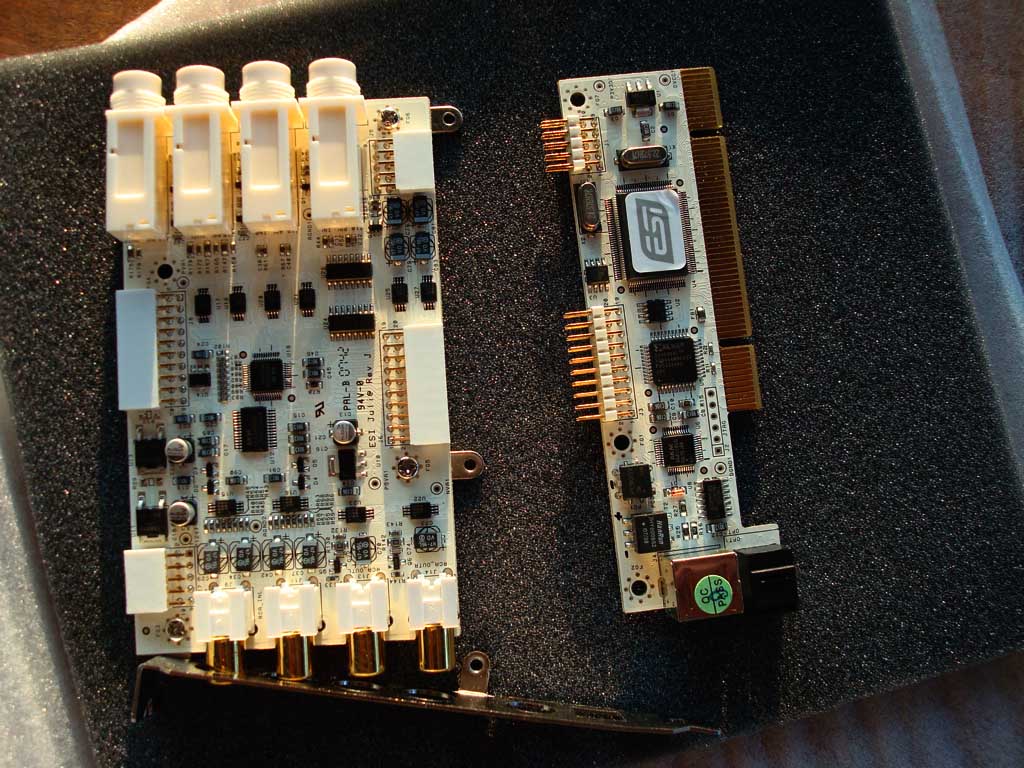
Below the ESI Juli@ installed in the PCI slot.
The rear side of the audio computer including connections of the ESI Juli@ card.
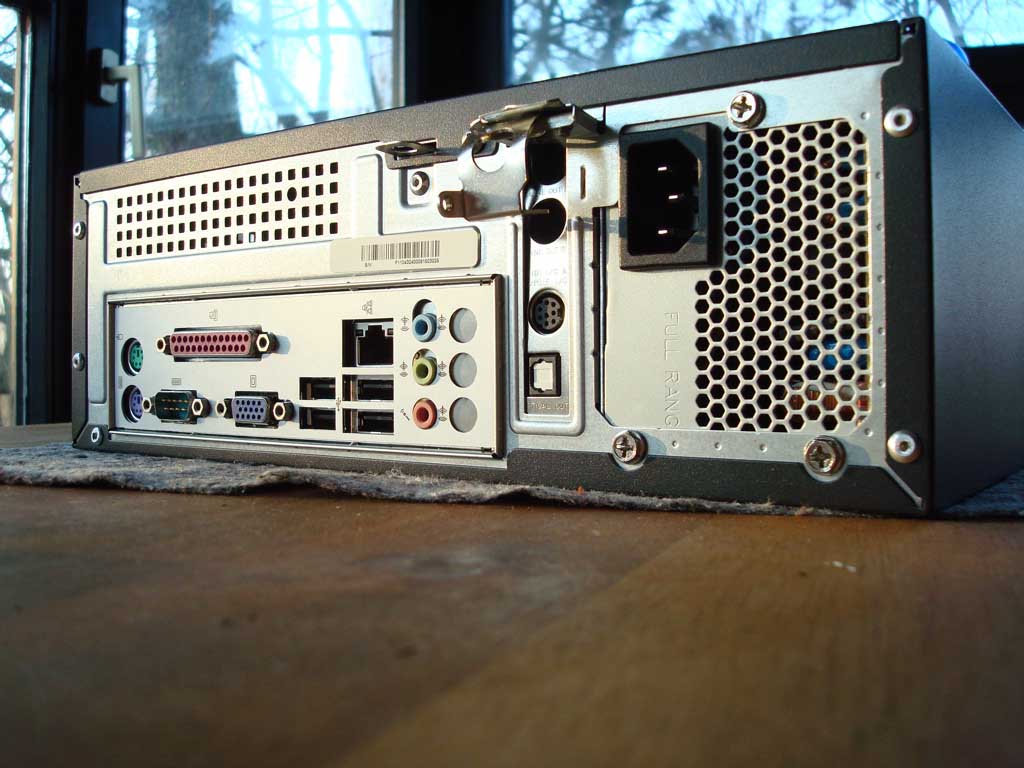
Finsihed :-)
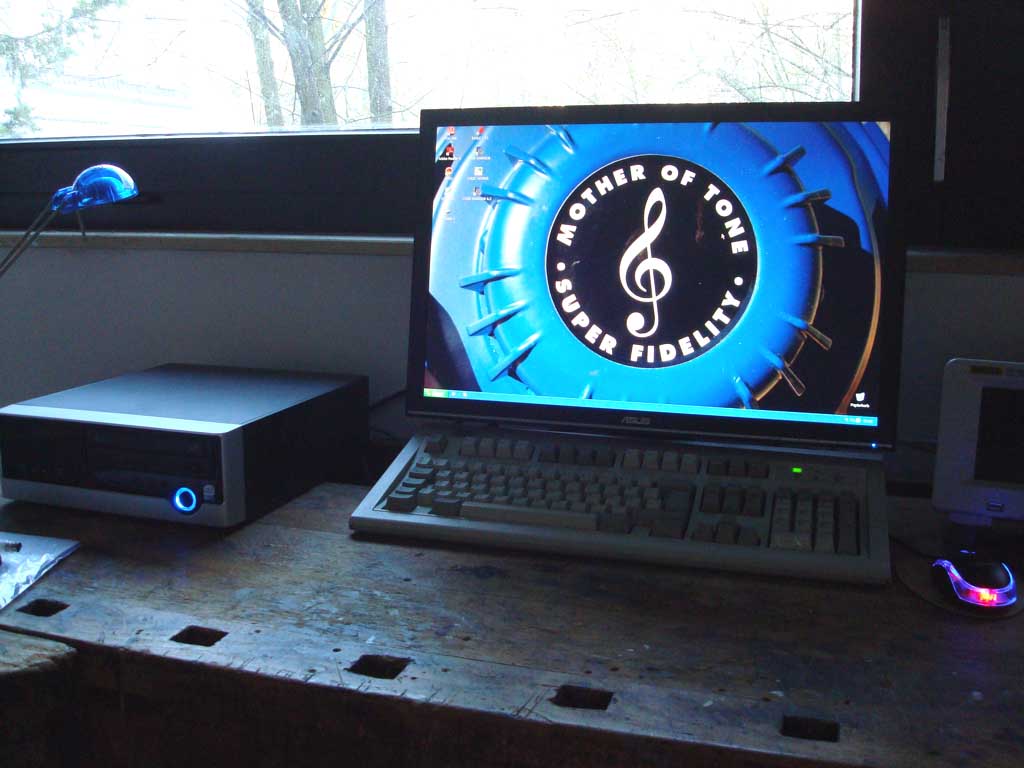
When you operate your audio computer for the first time, check the
temperatures with the mainboard utility for a while. My processor
temperature stays at about 40 deg. Celsius when playing back 192kHz
files using Foobar. I have read that the processor temperature of the
Intel ATOM processor should be kept below 90 deg. so there definitely
is a safety magin available. 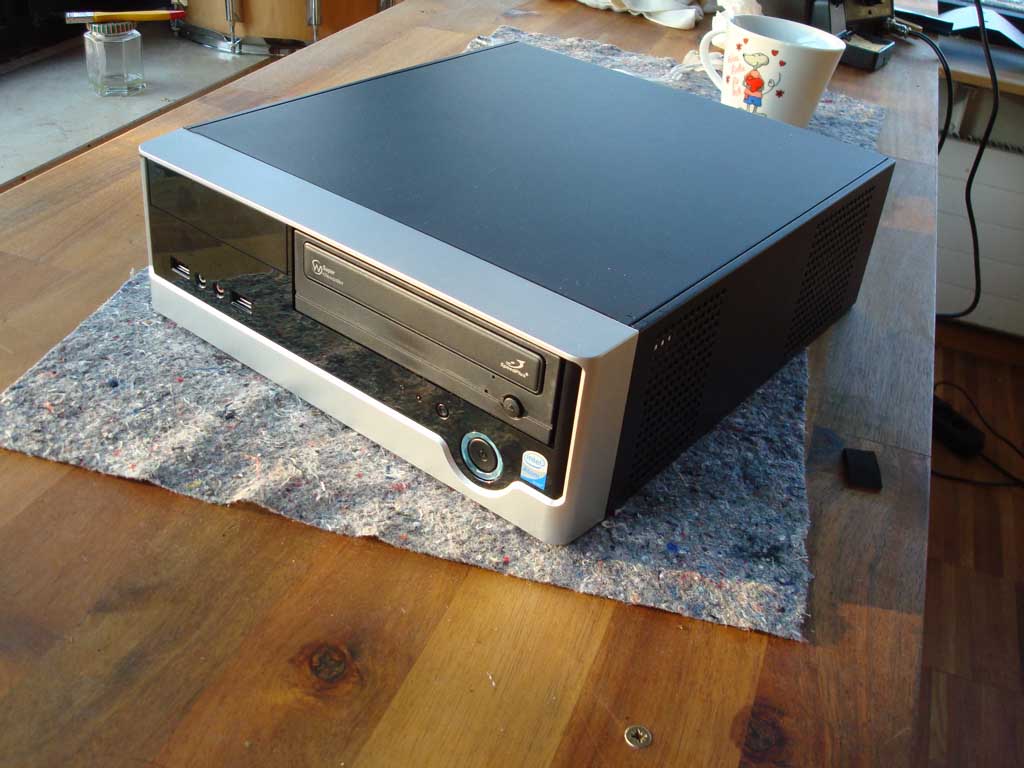
See below the control panel of the ESI Juli@ card and the cpu usage on the task-manager window, while playing a 192kHz track. On the right side you can change the sample rate. Sample rates can automatically change with your music files or it can be set to remain fixed on i.e. 192 kHz.
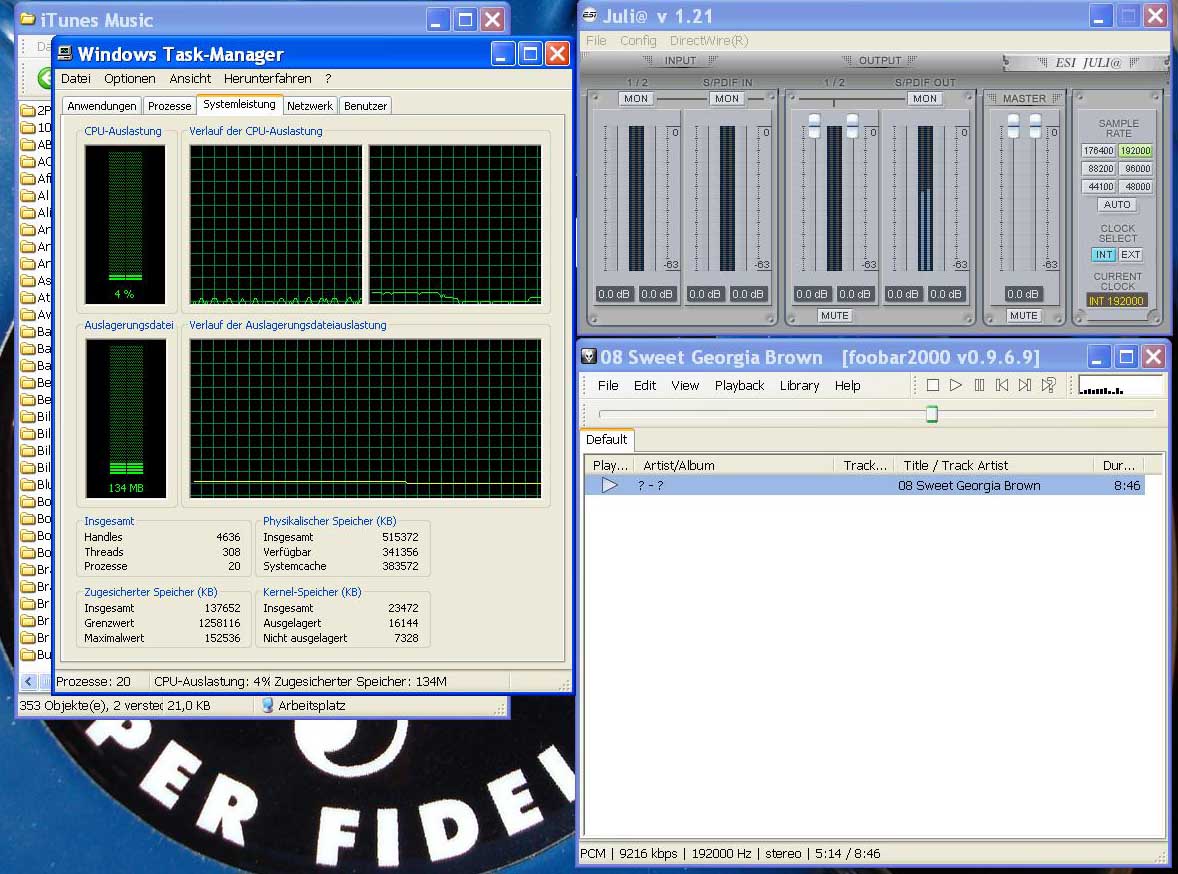
This music machine is virtually absolutely silent. During high-speed playback (192kHz) there are no drops, clicks and pops. The sonic performance through the Attraction DAC is unrivalled. Building cost of this music computer hardware: about EUR 400,- incl ESI Juli@ card, 512kB RAM (enough), 320Gb harddrive, DVD burner, keyboard, mouse, 22" Asus widescreen monitor.
Please note: I am not offering this audio-computer for sale, nor do I offer any hard- or software support for this project. This instruction is only intended to supply an easy, reliable and high-performance solution for computer audio.
Have fun ..
ALTMANN MICRO MACHINES ... Dipl.-Ing. Charles Altmann ... Erlenstr. 15 ...42697 Solingen ...Germany
phone +49-212-233-7039 ... email