The ALTMANN DIY TONEARM
![]() Artikel aus High-End-Journal (pdf).
Artikel aus High-End-Journal (pdf).
![]() See John Dahlman's interpretation of this tonearm
See John Dahlman's interpretation of this tonearm
![]() Click here for a pic of Andrew Royle's arm
Click here for a pic of Andrew Royle's arm
![]() Christian Schmauder's interpretation of the Altmann
DIY tonearm
Christian Schmauder's interpretation of the Altmann
DIY tonearm
![]() Joel Durand's interpretation of the Altmann DIY
tonearm
Joel Durand's interpretation of the Altmann DIY
tonearm
This is the first version of my tonearm. Cost is very low (about $5), sound is great. It is an unipivot design and you can make it within one day. You should however be patient and able to handle tiny parts.
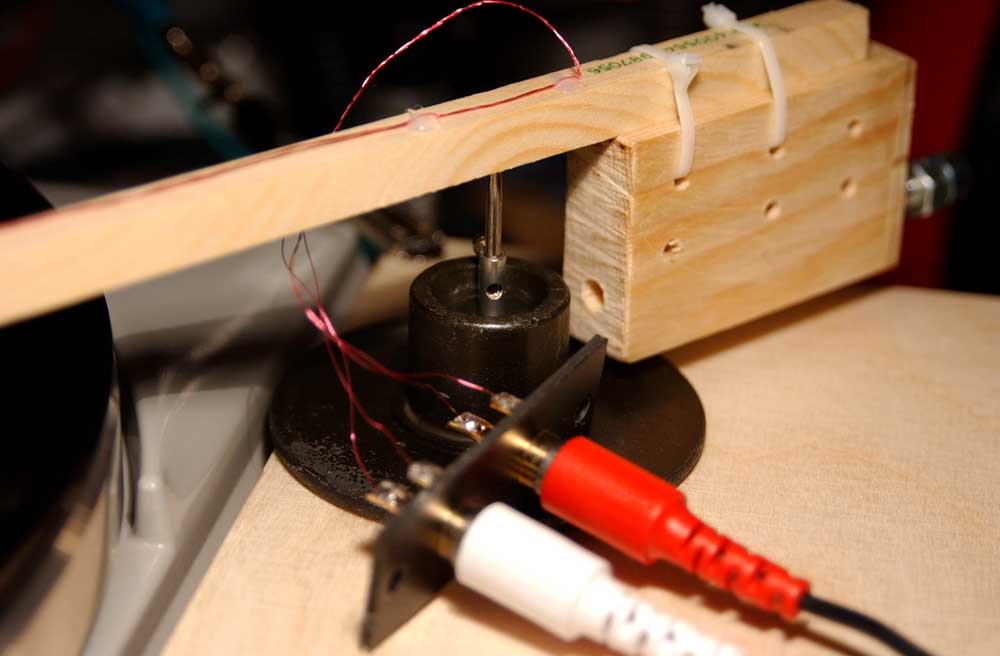
This picture gives an overview of the design:
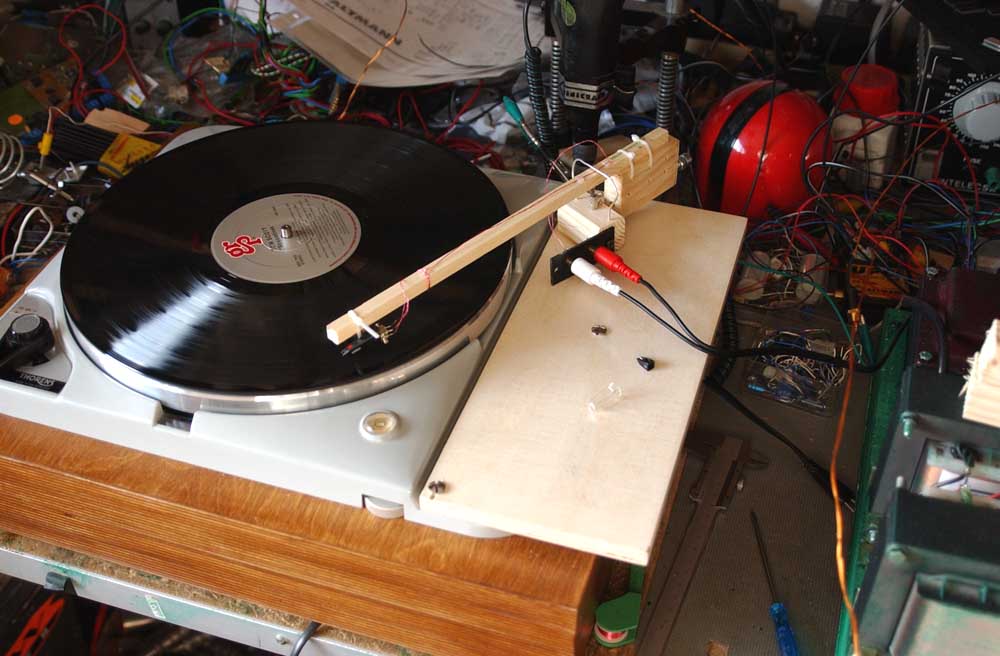
The arm is a woodstick. The counterweight and base are woodblocks. The system and couterweigt are attached to the arm via cable ties. The bearing is made of mom's knitting-needle.

Height adjustment is done by lifting the knitting-needle. Tracking is adjusted by moving the cartridge.
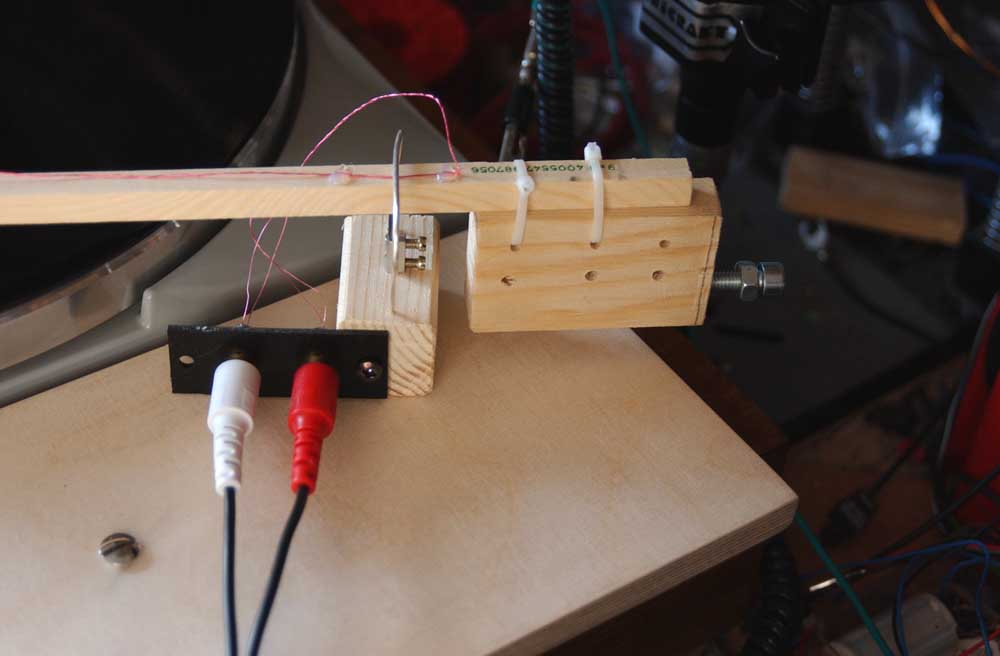
This is the counterweight. The center of gravity must be low for an unipivot arm. Notice the screw at the lower end of the weight. This is the fineadjustment for the tracking force. The cables leave the arm behind the pivot. Thus they provide a little antiskating force, that increases while the arm moves to the center of the disc.
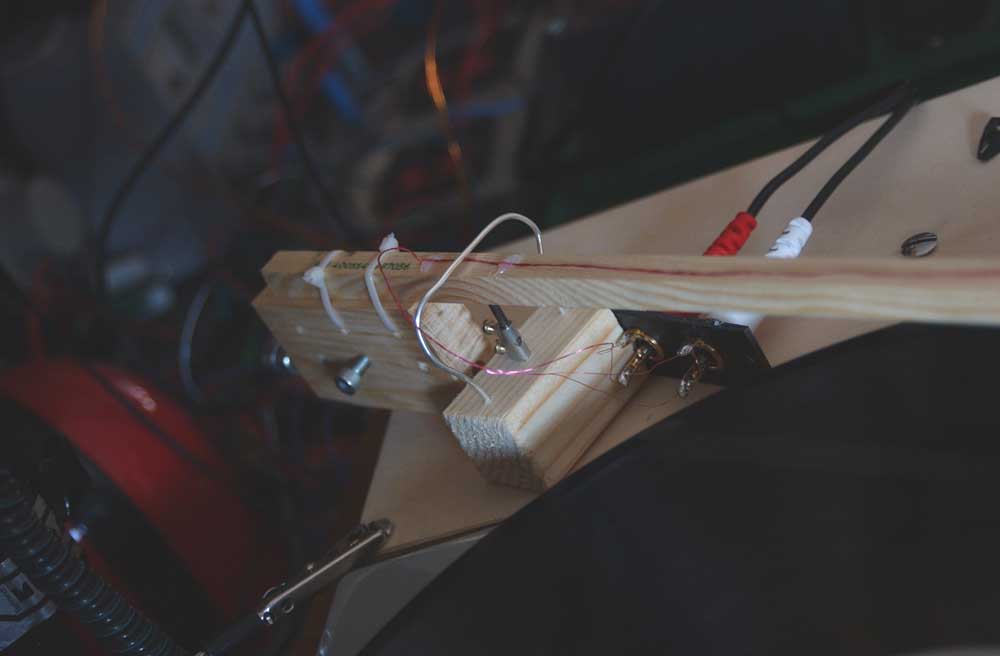
This is the other side of the counterweight. The screw at the side is used for adjusting the lateral balance of the arm and cartridge azimuth.
The heavy gauge wire above the pivot prevents that the arm leaves the bearing during adjustment. The whole thing looks a little fragile, but it is not. However, you have to pay attention to the small wires. The bearing is the knitting needle and a 3mm diameter hole inside the woodstick (arm), that ends right in the center of the arm.
First, I was surprised that this arm could be precisely adjusted easily and tracks perfect. As you see, this is not a piece of precision machining, so the arm was designed to provide means for compensating a certain lack of skill ;-)
Second I was surprised about the sound, which is very natural. This, I suppose, is because the arm is made of wood.
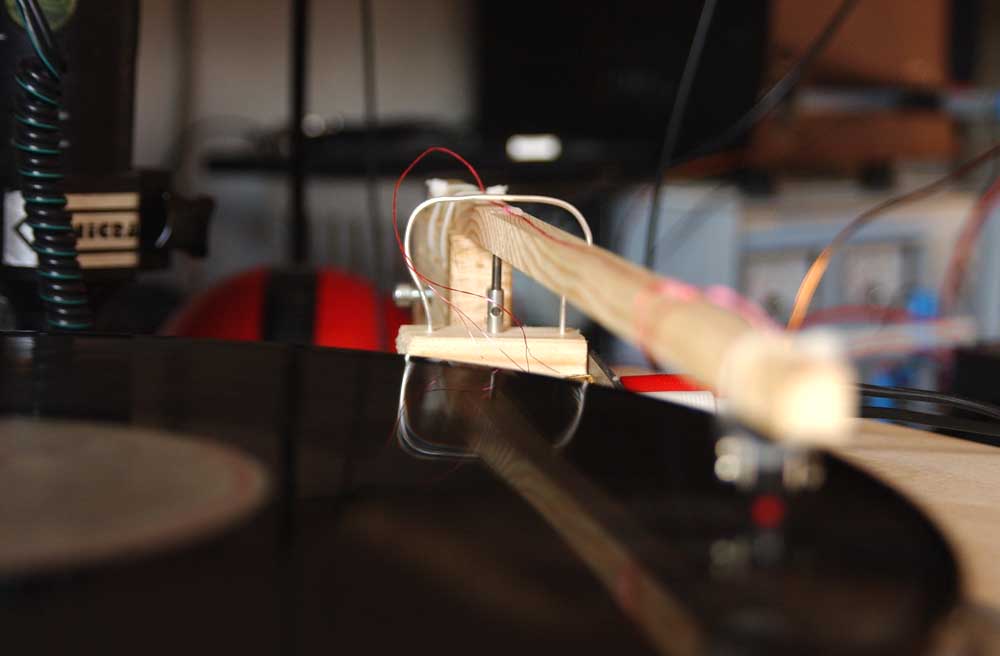
I recommend that the block that holds the needle should not be made of wood but a harder and heavy material, like steel. This will give more stability to the whole assembly and the sound. This base is a piece of an old loudspeaker:
The cable ties that hold the cartridge and counterweight, were chosen for a first performance test. This is not an end solution. You should use screws for having better mechanical connections.
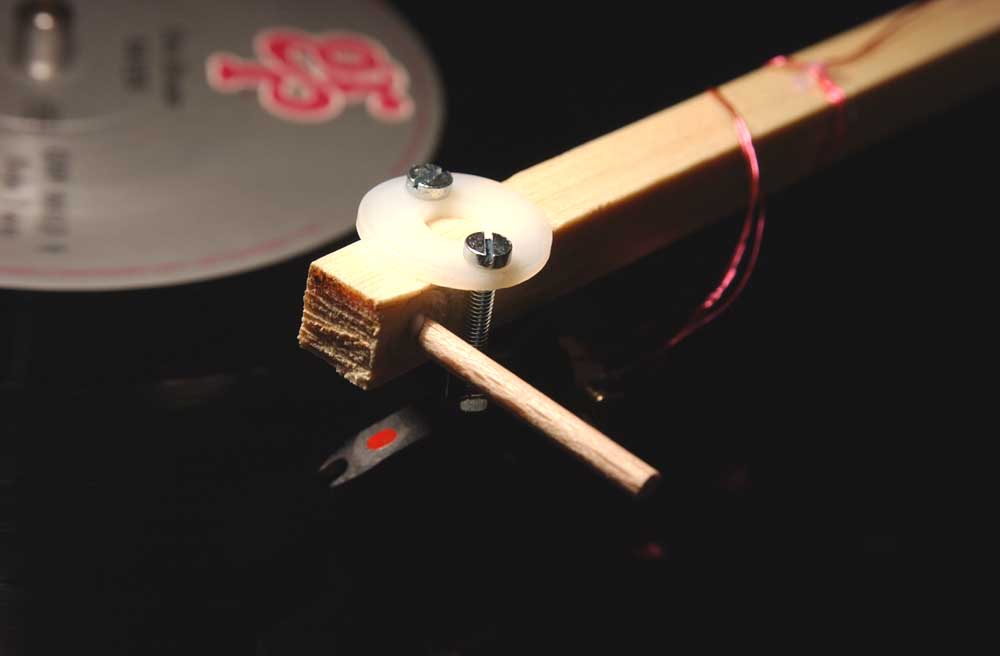
This is a better solution with a delrin spacer. You can clamp the cartridge tightly, which improves definition alot.
In the meantime I have glued the counterweight to the arm. The cable-ties were good for finding the proper position. With the counterweight glued in place, the sound became fuller (more body). Now that everything works fine, I will give it a C37 treatment.
You can change the sound, by using different kinds of wood for the arm and counterweight. This first prototype is made of pine and/or spruce. This is always a balance of how hard the wood is, and its weight.
Don't be fooled by the crude looks. This arm works. It may not be as good as the most expensive arms, but if you have the time and patience, you should try it out.
Have fun... :-)
Postscript: The C37 treatment improved the sound quality of the entire tonearm to a level, that I considered impossible when I started this project.
ALTMANN MICRO MACHINES ... Dipl.-Ing. Charles Altmann ... Am Muehlenbusch 57 ...42781 Haan ...Germany
phone +49-2129-54260... fax +49-2129-342555... email